Identity Page: Brand Customization for Resellers
Introduction
The Identity page allows resellers to customize the images and logos that will appear in their instance of the application. For these settings to apply correctly, a custom domain must be configured in the Domains Setup section of the ESP. Once the reseller accesses the application through their personalized domain, they will be able to see the configured logos and graphic elements.
Branding Assets
On this page, resellers can upload and manage four types of customized images:
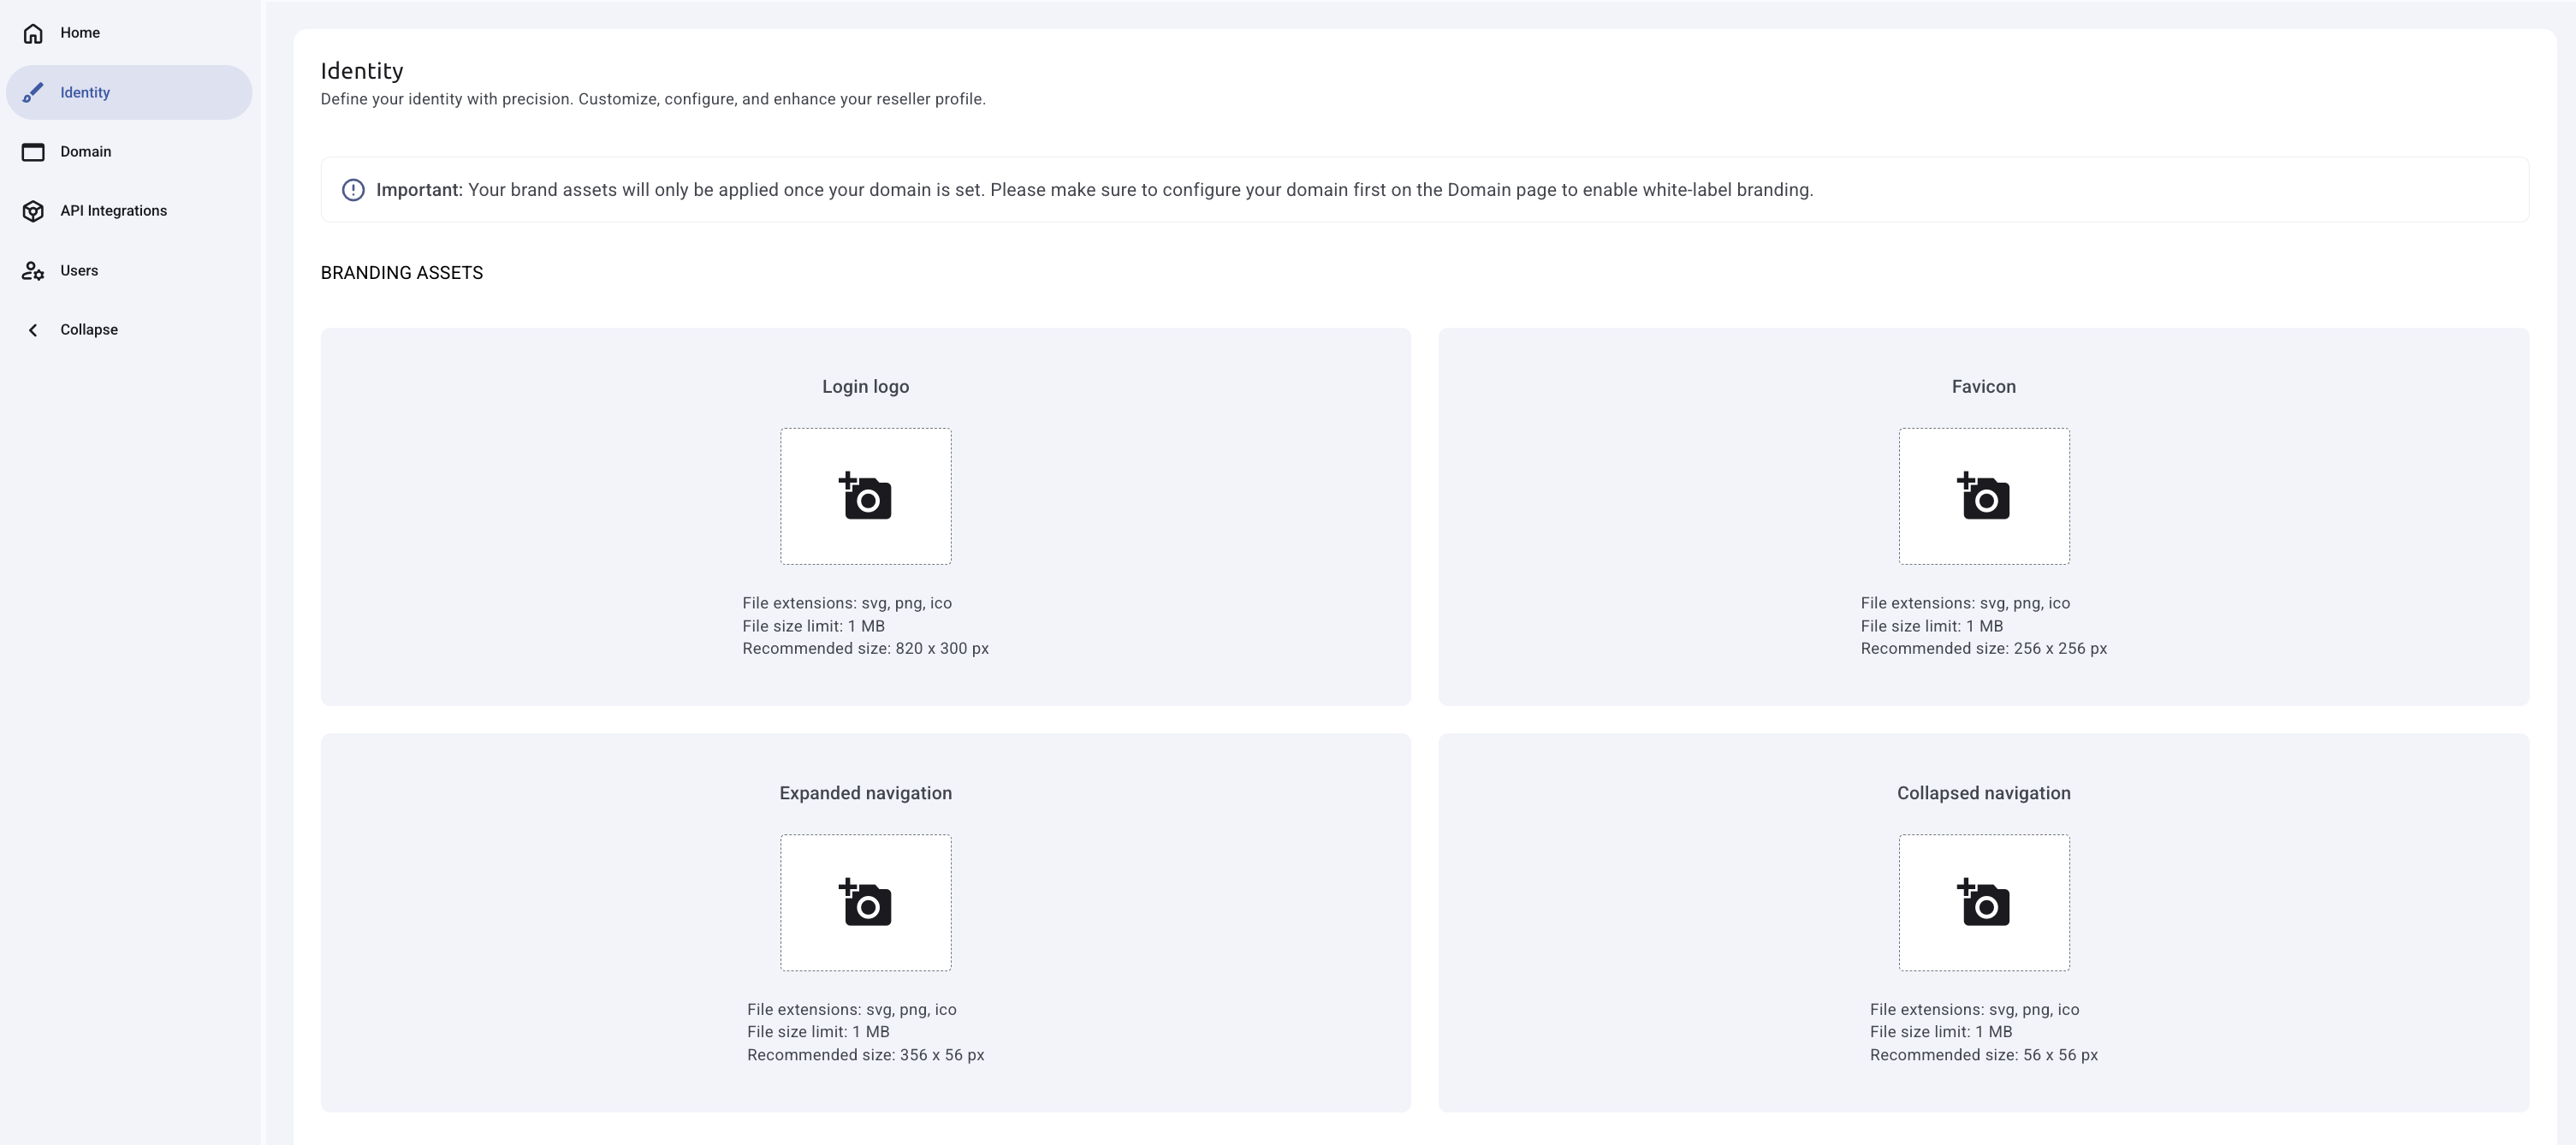
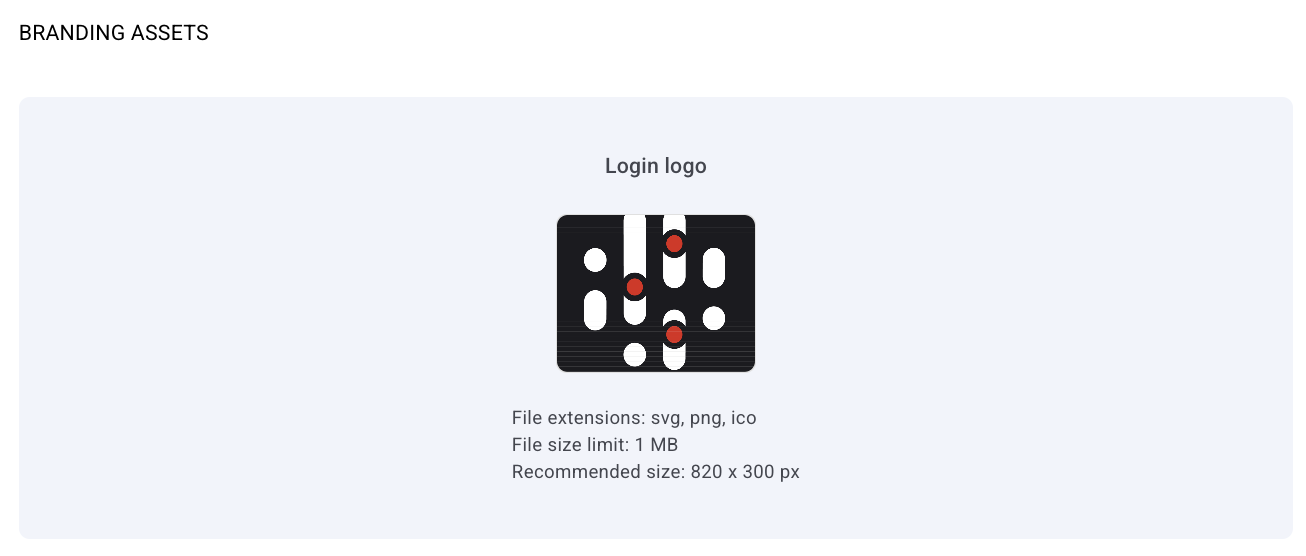
1. Login Logo
- Description: Image that will be displayed on the application's login screen.
- Supported formats:
.svg,.png,.ico - Recommended size:
820 x 300 px - File size limit:
1 MB
2. Favicon
- Description: Icon that will appear on the browser tab when users access the application.
- Supported formats:
.svg,.png,.ico - Recommended size:
256 x 256 px - File size limit:
1 MB
3. Expanded Navigation Logo
- Description: Image that will be displayed in the navigation bar header when it is in its expanded version.
- Supported formats:
.svg,.png,.ico - Recommended size:
356 x 56 px - File size limit:
1 MB
4. Collapsed Navigation Logo
- Description: Image that will be displayed in the navigation bar when it is minimized.
- Supported formats:
.svg,.png,.ico - Recommended size:
56 x 56 px - File size limit:
1 MB
Image Upload and Management
When selecting the image upload option, a popup will appear, allowing users to manage their custom images.
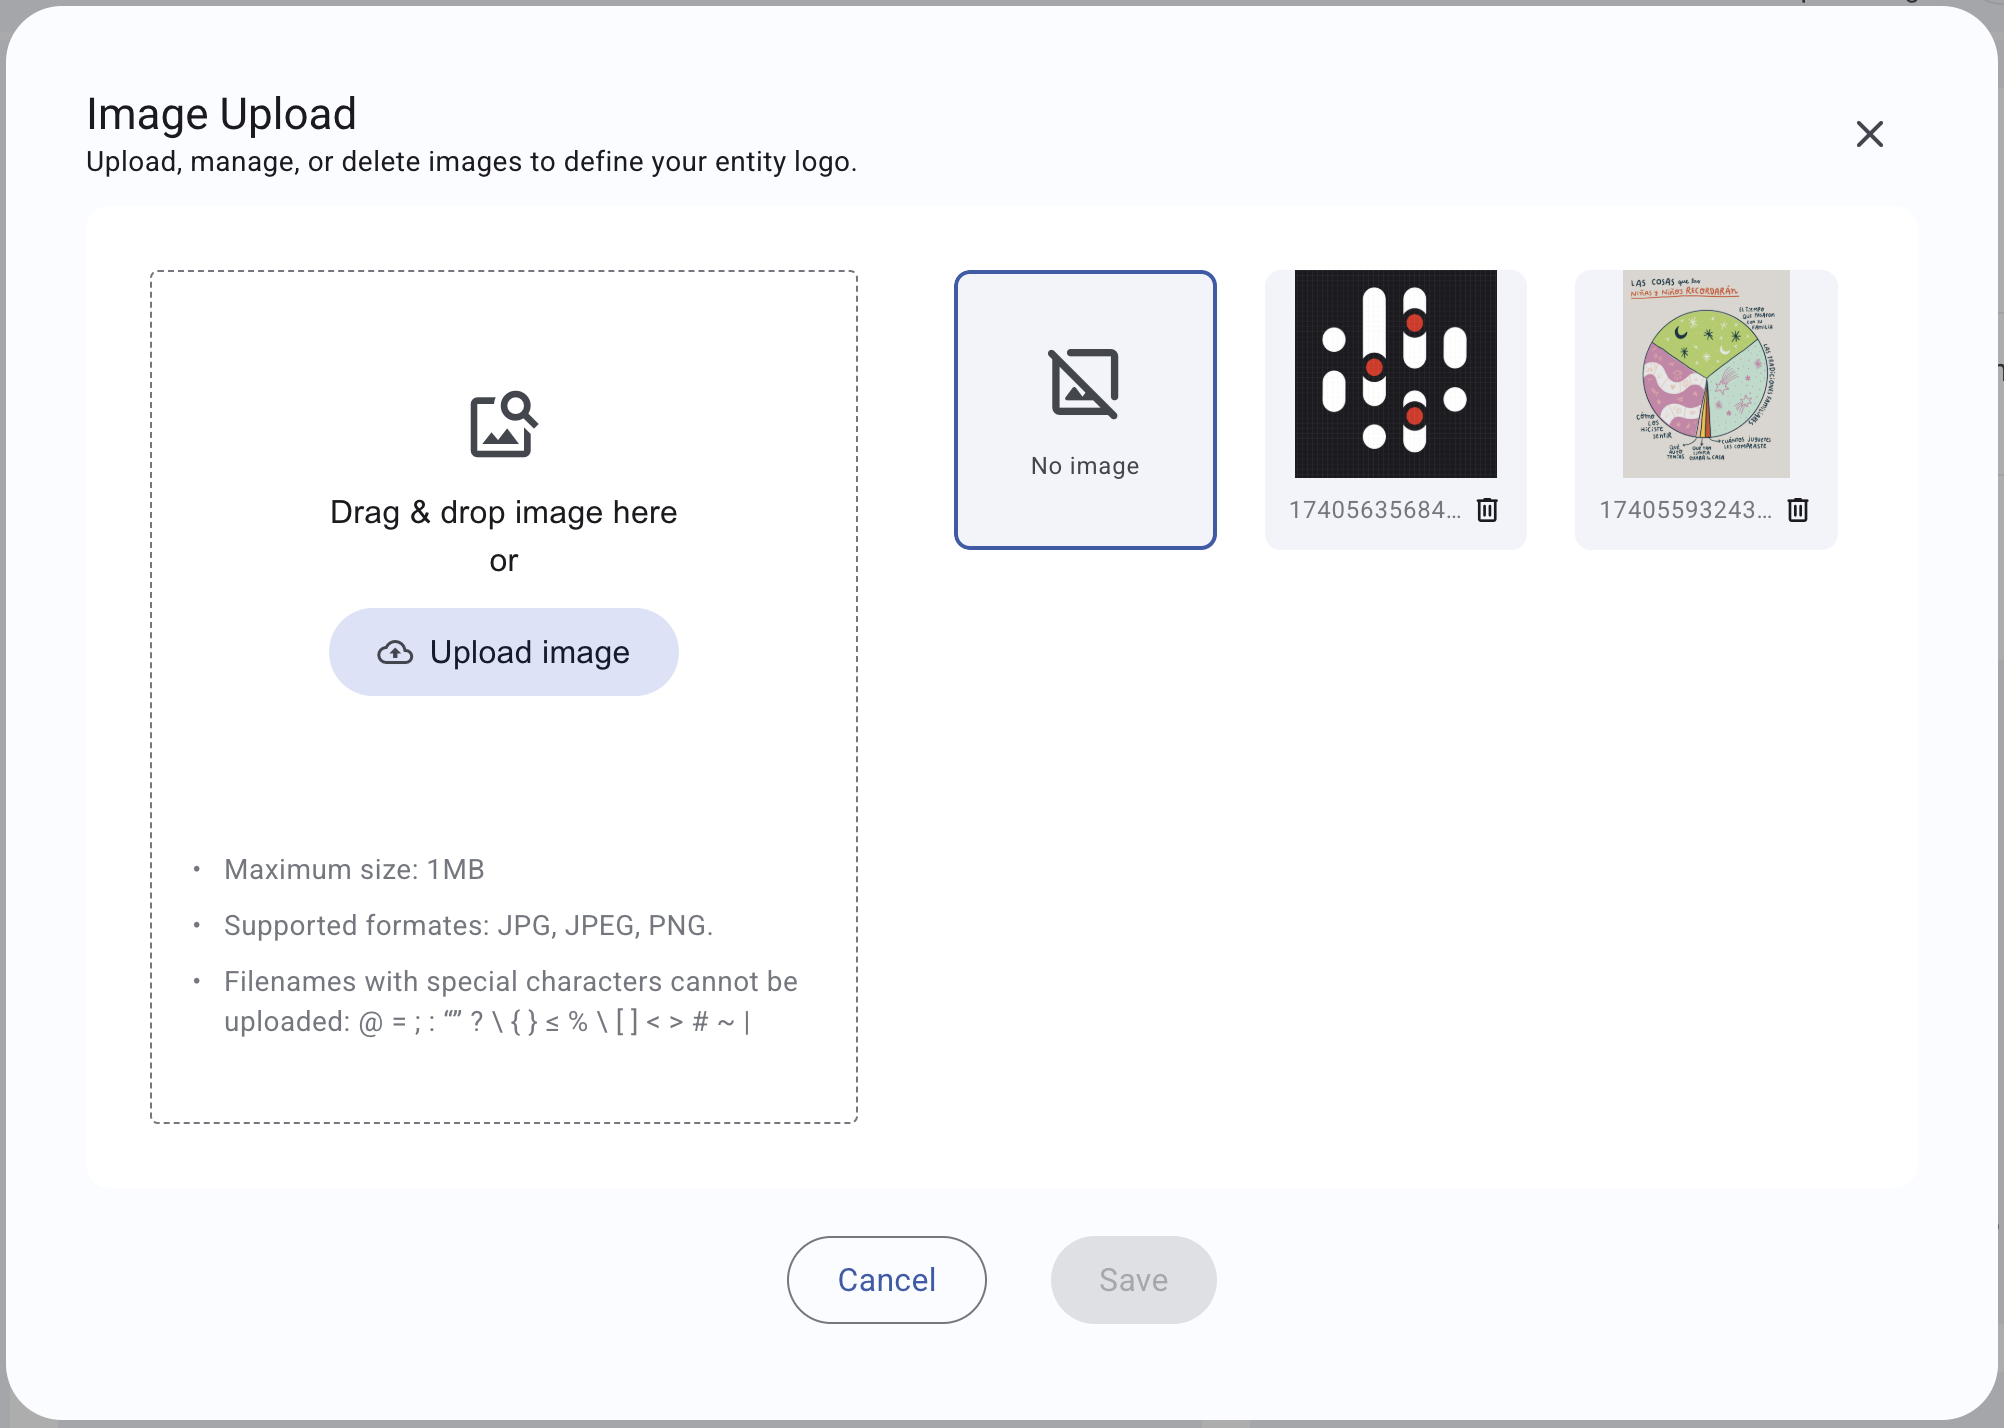
Images can be uploaded in two ways:
- Drag and drop the image from the computer into the designated area.
- Clicking the "Upload image" button and selecting the file manually.
If the image meets the requirements, it will appear in the right section, where users can:
- Select it as the active image.
- Delete it, if they no longer want to use it.
- Choose the "No image" option, to leave the space blank.
- Download the image.
Differences in Mobile Mode
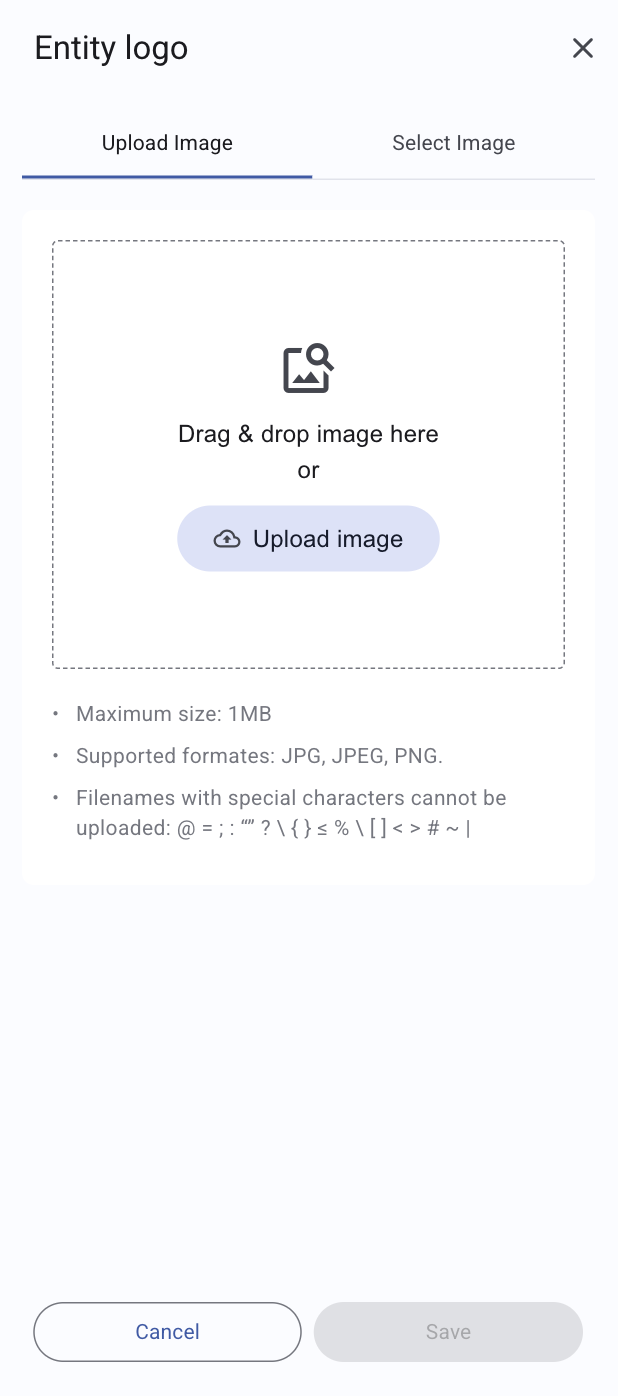
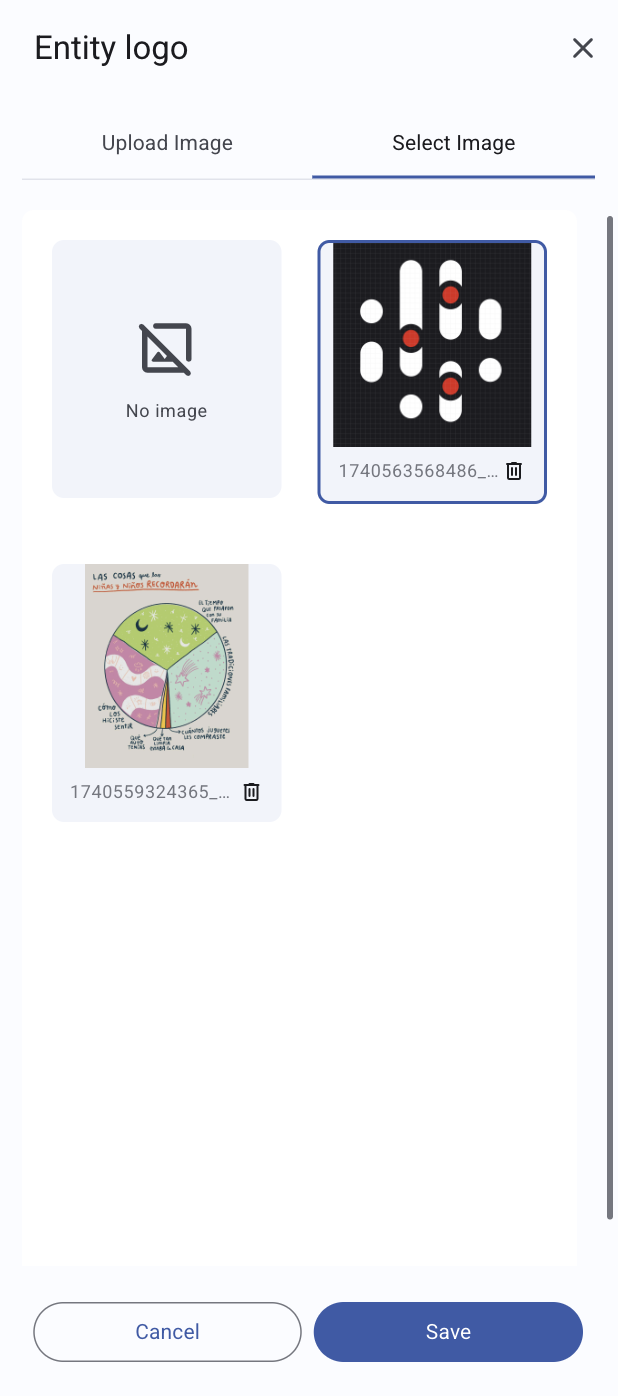
In the mobile version, image upload and selection are separated into two tabs, requiring users to switch between them to manage each action.
Saving and Displaying on the Main Identity Page
To apply changes, users must click the "Save" button. Once the selected image is saved, it will be displayed on the Identity main page, ensuring that resellers see their customized branding when accessing the application.
To open the gallery again we just need to click on the image placeholder on the main screen.
This section was last updated 2025-08-07